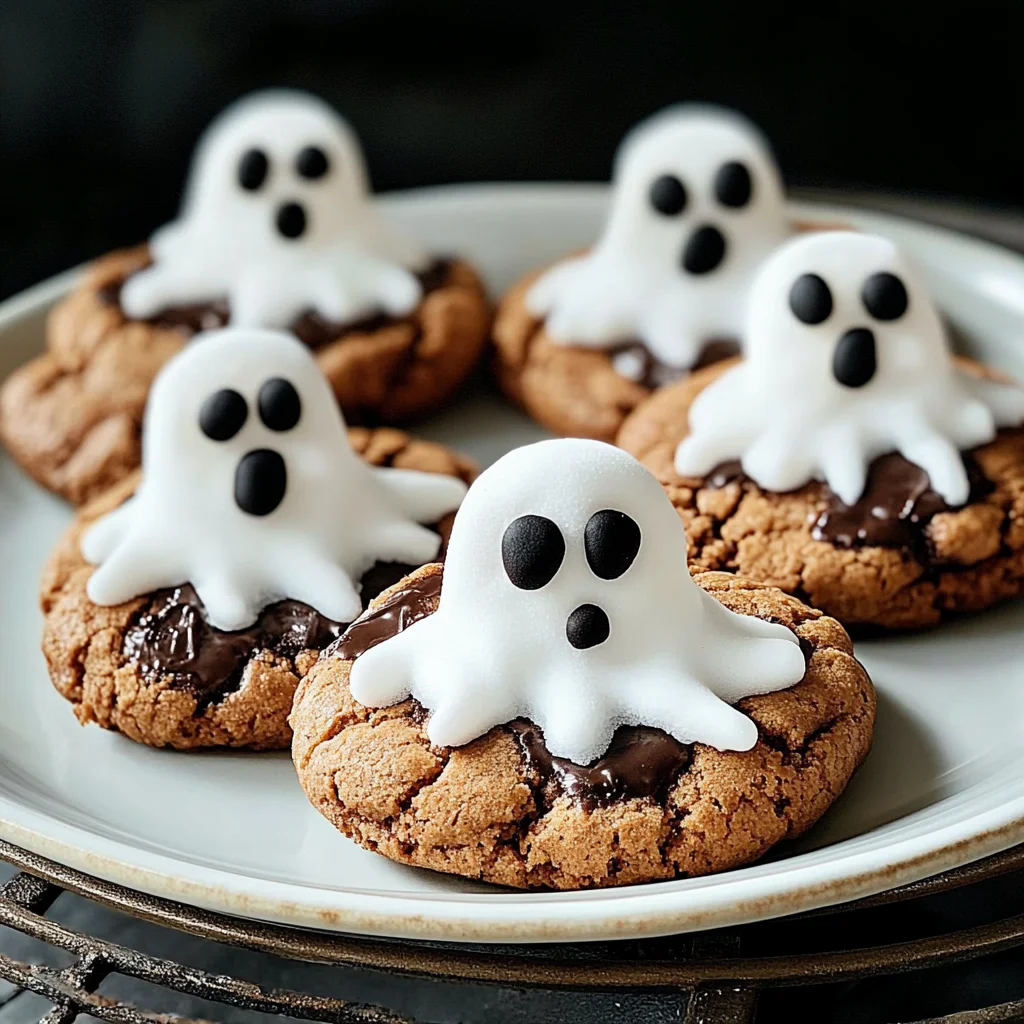
Ghost cookies are the perfect spooky treat for Halloween celebrations. With their charming design and simple preparation, these cookies bring a fun twist to your festive gatherings. Easy to make and deliciously sweet, ghost cookies are a delightful way to impress guests or enjoy with family. Whether for a party or a cozy night in, these treats add a touch of whimsy to any occasion.
Why You’ll Love This Recipe
- Easy to Make: With just a few ingredients, you can create these fun cookies without any baking hassle.
- Perfect for Parties: These ghostly treats are sure to be a hit at Halloween gatherings or themed events.
- Kid-Friendly Fun: Get the little ones involved in decorating their own ghost cookies for extra enjoyment.
- Customizable Designs: Use different colors and styles of icing to personalize each cookie according to your taste.
- Deliciously Sweet: The combination of chocolate chunk cookies and sweet icing makes for an irresistible treat.
Tools and Preparation
To create these spooky ghost cookies, you will need some essential tools. Having the right equipment will streamline your process and ensure great results.
Essential Tools and Equipment
- Mixing bowl
- Baking sheet
- Parchment paper
- Piping bag or small plastic bag
Importance of Each Tool
- Mixing bowl: Ideal for combining your icing ingredients smoothly and thoroughly.
- Baking sheet: Provides a sturdy base for placing your decorated cookies while they set.
- Piping bag or small plastic bag: Perfect for decorating with precision when applying black writing icing.
Ingredients
Gather the following ingredients to make your ghost cookies:
For the Ghost Cookies
- 175g icing sugar
- 1 x 200g pack chocolate chunk cookies
- 9 vegan marshmallows (regular size)
- black writing icing
How to Make Ghost Cookies
Step 1: Prepare Your Workspace
First, clean your kitchen surface and gather all your ingredients and tools. Lay out parchment paper on the baking sheet to keep things tidy.
Step 2: Make the Icing
In a mixing bowl, combine the icing sugar with a few tablespoons of water until it reaches a thick but spreadable consistency.
Step 3: Decorate the Cookies
- Take each chocolate chunk cookie and spread a layer of icing on top.
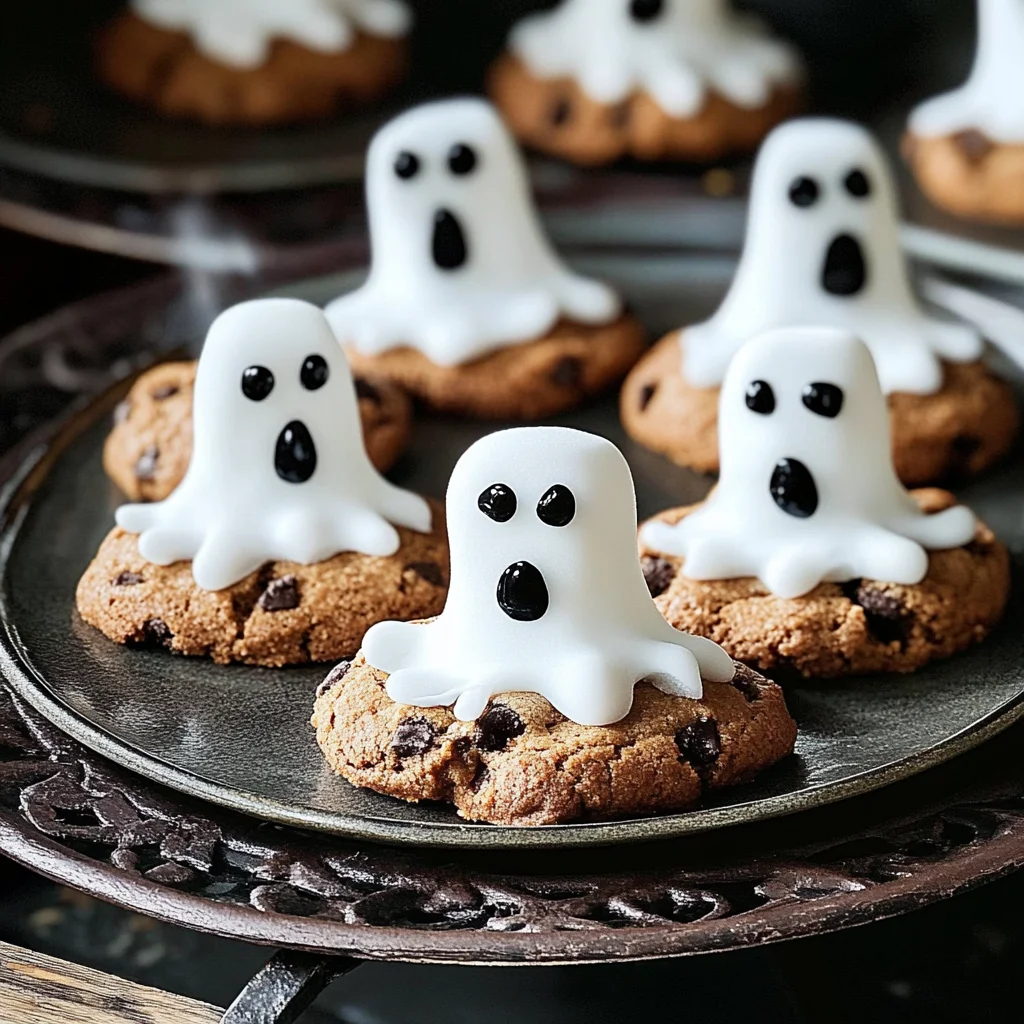
- Place one vegan marshmallow in the center of each cookie as the ghost’s body.
- Use black writing icing to draw eyes and mouth on each marshmallow, giving them that spooky ghost look.
Step 4: Let Them Set
Allow the decorated cookies to sit for about 10-15 minutes so that the icing can harden slightly before serving.
Now you’re ready to enjoy these delightful ghost cookies! They’re sure to bring smiles and add charm to your Halloween festivities.
How to Serve Ghost cookies
Ghost cookies are a fun and festive treat perfect for Halloween gatherings. These spooky delights can be served in various creative ways to enhance your Halloween celebrations.
Creative Platter Ideas
- Spooky Cookie Stand: Arrange the ghost cookies on a tiered cake stand for an eye-catching centerpiece.
- Themed Dessert Table: Include other Halloween-themed treats like pumpkin cupcakes and candy corn for a festive dessert spread.
Fun Pairings
- Warm Chocolate Sauce: Drizzle warm chocolate sauce over the cookies for an extra indulgent touch.
- Fruit Juice Punch: Serve with a refreshing fruit juice punch to balance the sweetness of the cookies.
Packaging for Gifts
- Cellophane Bags: Place individual ghost cookies in colorful cellophane bags tied with Halloween ribbons as party favors.
- Decorative Boxes: Use themed boxes to gift a collection of ghost cookies to friends and family.
How to Perfect Ghost cookies
To ensure your ghost cookies turn out perfectly, consider these helpful tips.
- Use Fresh Ingredients: Ensure all ingredients, especially marshmallows, are fresh for the best taste and texture.
- Even Icing Application: Apply icing evenly on each cookie to create uniform ghosts that look great on display.
- Chill Marshmallows: Slightly chill marshmallows before placing them on the cookies; this helps them hold their shape better.
- Practice Piping Skills: If you’re using black writing icing, practice piping designs on parchment paper first to refine your technique.
Best Side Dishes for Ghost cookies
Adding side dishes can enhance your Halloween dessert experience. Here are some delightful options that pair well with ghost cookies:
- Pumpkin Soup: A warm, creamy soup perfect for fall, offering a savory contrast to sweet treats.
- Apple Slices with Caramel Dip: Fresh apple slices dipped in caramel provide a crunchy and sweet addition.
- Cheese Platter: A selection of cheeses balances the sweetness with savory flavors; add crackers for texture.
- Spicy Nachos: Add some fun with spicy nachos topped with cheese and jalapeños for a kick alongside sweet desserts.
- Mini Veggie Cups: Offer mini cups filled with assorted veggies and dip, adding freshness to the dessert table.
- Fruit Skewers: Colorful fruit skewers bring brightness and healthiness to your spread, making it visually appealing.
Common Mistakes to Avoid
When making ghost cookies, it’s easy to overlook some details. Here are common mistakes to watch out for.
- Ignoring the consistency of icing sugar: If the icing is too thick, it won’t create a smooth finish. Sift your icing sugar for a better texture.
- Overbaking the cookies: Cookies can harden too much if left in the oven too long. Keep an eye on them and remove them as soon as they start to brown.
- Not using a piping bag for decorations: Skipping this step can lead to messy designs. Invest in a piping bag for cleaner and more precise decorating.
- Using stale cookies: Fresh cookies work best for this recipe. Always check the expiration date and use freshly baked or store-bought cookies.
- Forgetting to let cookies cool before decorating: Decorating warm cookies can cause the icing to melt. Make sure they are completely cool before adding icing and marshmallows.
Storage & Reheating Instructions
Refrigerator Storage
- Store ghost cookies in an airtight container to keep them fresh.
- They can last up to 5 days in the refrigerator.
Freezing Ghost cookies
- Wrap each cookie individually in plastic wrap before placing them in a freezer-safe bag.
- These cookies can be frozen for up to 3 months.
Reheating Ghost cookies
- Oven: Preheat your oven to 350°F (175°C). Place cookies on a baking sheet and heat for about 5 minutes until warm.
- Microwave: Heat one cookie at a time on high for about 10-15 seconds, but watch closely to avoid melting.
- Stovetop: Use a skillet over low heat, placing the cookie on it for about 30 seconds until warmed through.
Frequently Asked Questions
Here are some common questions about ghost cookies that may help you.
What are Ghost cookies?
Ghost cookies are fun Halloween treats made by decorating chocolate chunk cookies with icing and marshmallows, creating a spooky appearance perfect for parties.
Can I customize my Ghost cookies?
Absolutely! You can change the decorations or even add different flavors of icing. Get creative with colors and shapes!
How long do Ghost cookies last?
Ghost cookies will stay fresh for about 5 days when stored properly in an airtight container at room temperature.
Can I use other types of cookies?
Yes! You can use any type of cookie as a base; just ensure they hold their shape well when decorated.
Are Ghost cookies suitable for kids?
Definitely! Making ghost cookies can be a fun activity for kids during Halloween. Just supervise them while decorating!
Final Thoughts
These ghost cookies are not only adorable but also easy to make. They offer plenty of opportunities for customization, allowing everyone to decorate as they wish. Try this recipe for your next Halloween gathering and enjoy the delight it brings!
Ghost Cookies
Ghost cookies are the ultimate festive treat for Halloween, combining charm and taste in a delightful way. Easy to make and adorned with a spooky design, these cookies are perfect for impressing guests at your Halloween party or enjoying during a cozy family night. With simple ingredients and straightforward steps, you can create these fun ghostly delights that will bring smiles to everyone’s faces. Get ready to unleash your creativity as you decorate each cookie with icing and marshmallows, making them uniquely yours!
- Prep Time: 15 minutes
- Cook Time: 0 minutes
- Total Time: 15 minutes
- Yield: Approximately 9 servings 1x
- Category: Dessert
- Method: Baking
- Cuisine: American
Ingredients
- 175g icing sugar
- 1 x 200g pack chocolate chunk cookies
- 9 vegan marshmallows (regular size)
- black writing icing
Instructions
- Prepare your workspace by cleaning the surface and laying out parchment paper on a baking sheet.
- In a mixing bowl, combine the icing sugar with a few tablespoons of water until it reaches a thick but spreadable consistency.
- Spread icing on top of each chocolate chunk cookie. Place one marshmallow in the center of each cookie; use black writing icing to add eyes and mouth for that spooky look.
- Let the decorated cookies sit for 10-15 minutes to allow the icing to set before serving.
Nutrition
- Serving Size: 1 cookie
- Calories: 180
- Sugar: 13g
- Sodium: 50mg
- Fat: 6g
- Saturated Fat: 3g
- Unsaturated Fat: 2g
- Trans Fat: 0g
- Carbohydrates: 30g
- Fiber: 1g
- Protein: 1g
- Cholesterol: 0mg
Leave a Comment